With this recipe you'll learn how to add a picture to a page’s header (hero) section by the example of the University Sports page (the sports header may have been updated since this instruction was written).

Preparation (optional): Select and Upload a Header Image Filelist
Go to filelist and upload your header image to the website.
Good sources for royalty free stock photos and graphics are, for example:
You may also try your luck with the image collection at mediaTUM.
Step 1: Open Page Properties Page
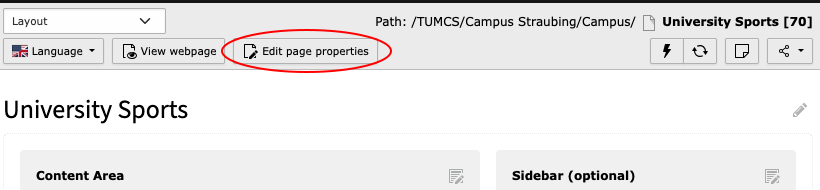
Head to the page you want to edit in the Page Module and click on the Edit page properties button. Then scroll down to the hero section.
Step 2: Check Hero Settings and Add Image Page
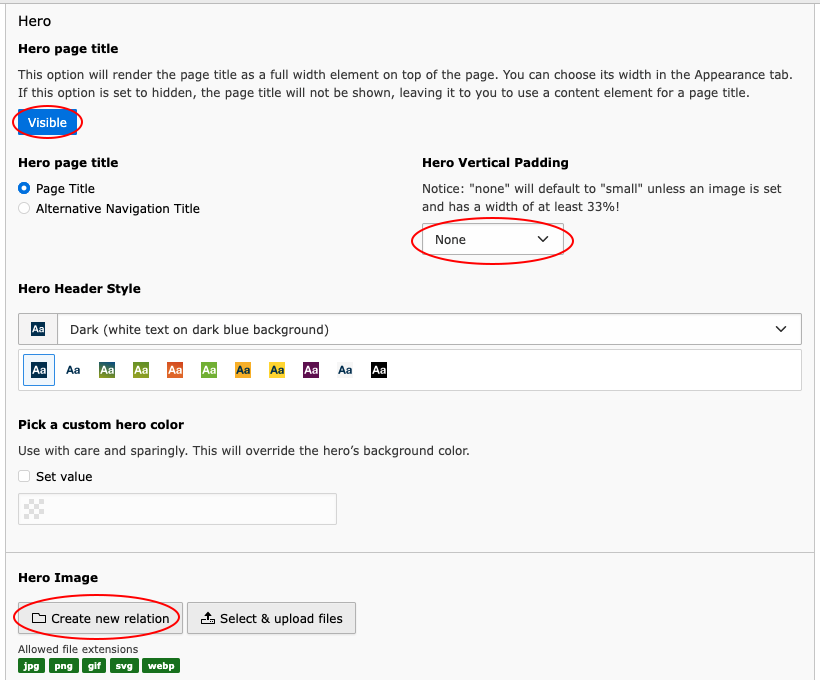
Check if the page hero section is visible (this is the default value for any new page).
Choose none in the Hero Vertical Padding field if you do not want any colored margins above and below your image.
Insert your image by clicking Create new relation and selecting the file in the dialogue.
Step 3: Set Image Ratio and Width Page

After selection, the website will use the native aspect ration of the chosen file. You can override this by selecting a preset from the image’s Aspect Ratio field. The image will then be cropped to the ratio.
Specify an image width using the Hero Image Width (Fraction of window width) selection field. It’s all in the name.
Save the page and view it to dial in ratio and width.